Penguin Project + Paper Mache Tutorial

We’ve been learning all about penguins these past few weeks. This week, we created paper mache penguins that will be displayed in out hallway during Open House. We had to look all over the internet for instructions on how to do this, so I thought I’d take lots of pics and share how we did it!
First, we had to find the right balloons. We got packs of assorted balloons from Party City and pulled out the skinny balloons. My advice would be to buy one pack and open it to see if it has the correct size that you need. I’m not positive that the link above has the correct size since we purchased our balloons in store. You are looking for the long skinny balloons on the right. (Note: Balloon animal balloons will not work! Way too long and thin.)

Next it was time to mache! We had newspaper prepped and cut into strips. We actually had enough left over from last year because you really don’t need a much as you think you do!
Each child got a paper plate with their class # on it.
We used a half glue/half water mixture and paint brushes.

 They REALLY need 3 layers. I have a few cracked heads because some kids did not put enough layers. </p>
</div>
<p><center><img decoding=)
We used a hair dryer to try and speed up the drying process. It helped! Last year we really over-saturated the balloons and some took 3 days to dry! This year was much better and all were dry by the next morning. I had to use the hair dryer on just a few damp spots on day 2.


Day 2 afternoon I had parents come in again to help with the painting. We had one adult with each penguin group. This time they were in their penguin groups since we studied 5 different species and they don’t all look the same. (Hello, Little Blue!)

Day 3 morning, I had some amazing parents come up and finish things up! They replaced the bases (the others were covered in paint), labeled them, hot-glued the wings, tails and feet, and did some touch up painting where little painted fingers got on white bellies.

I had the wings, tails and feet pre-cut by fabulous parent volunteers. You could easily have the kids cut these themselves if you don’t have many volunteers. I just drew wings and tails and copied them on black cardstock. The feet were just copied on orange construction paper.


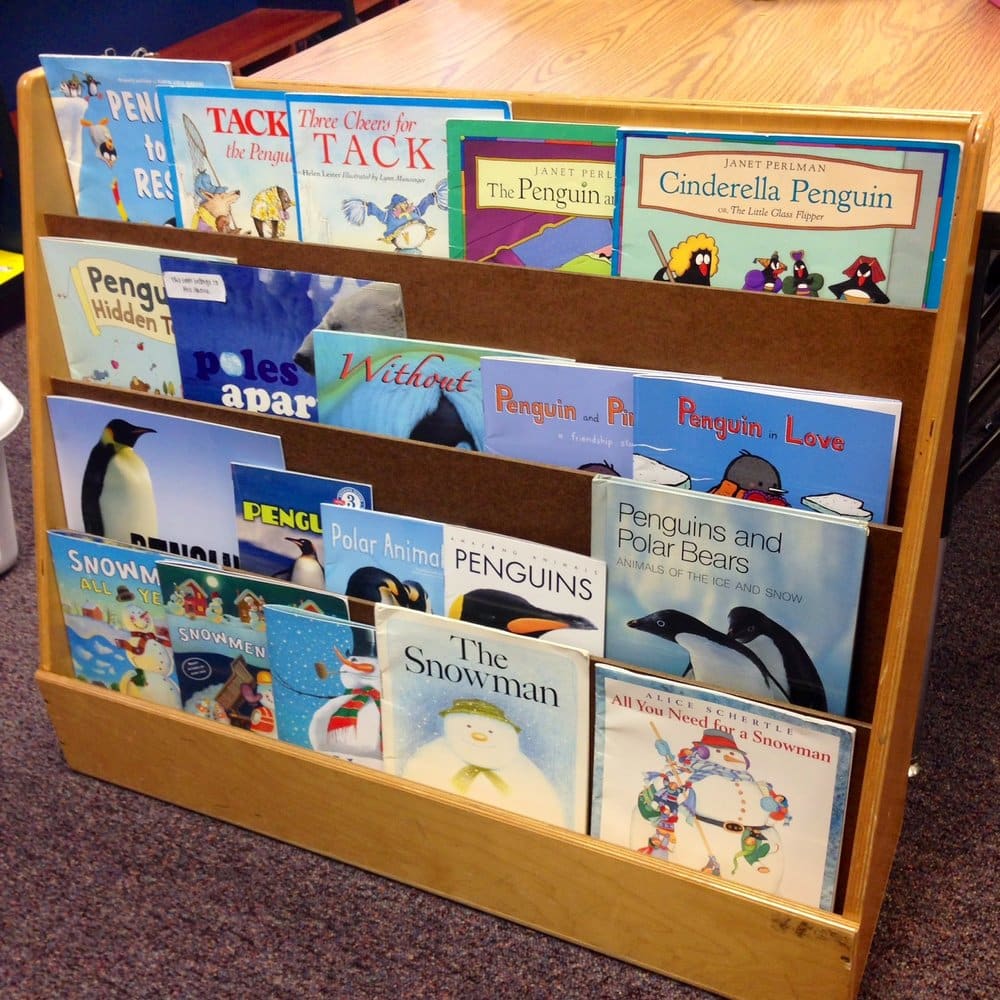
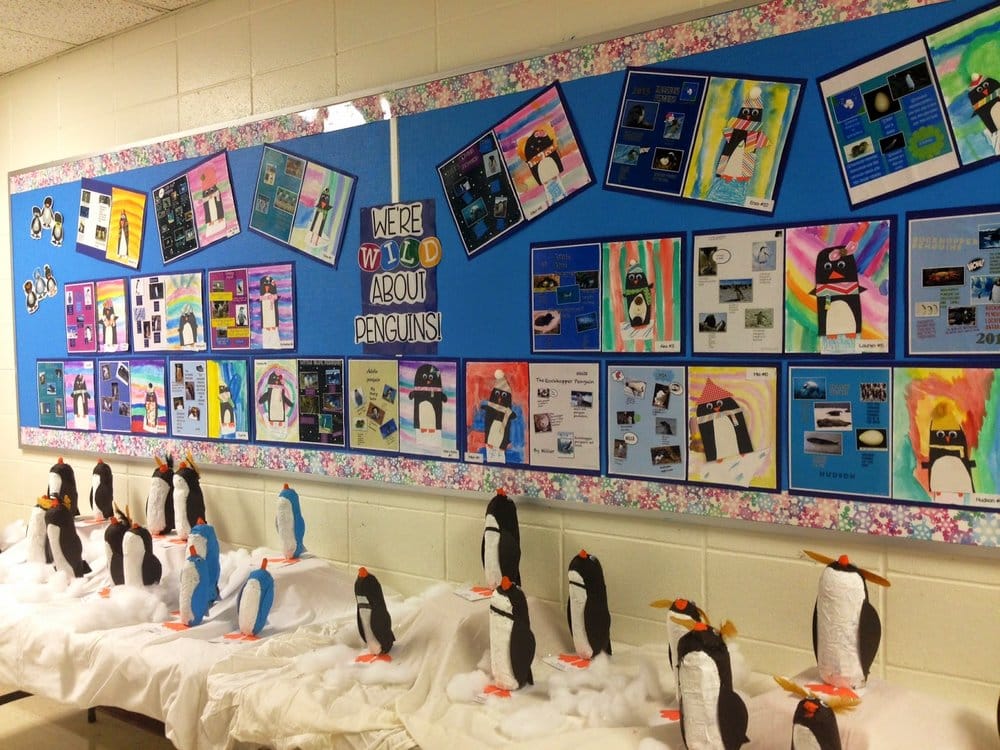
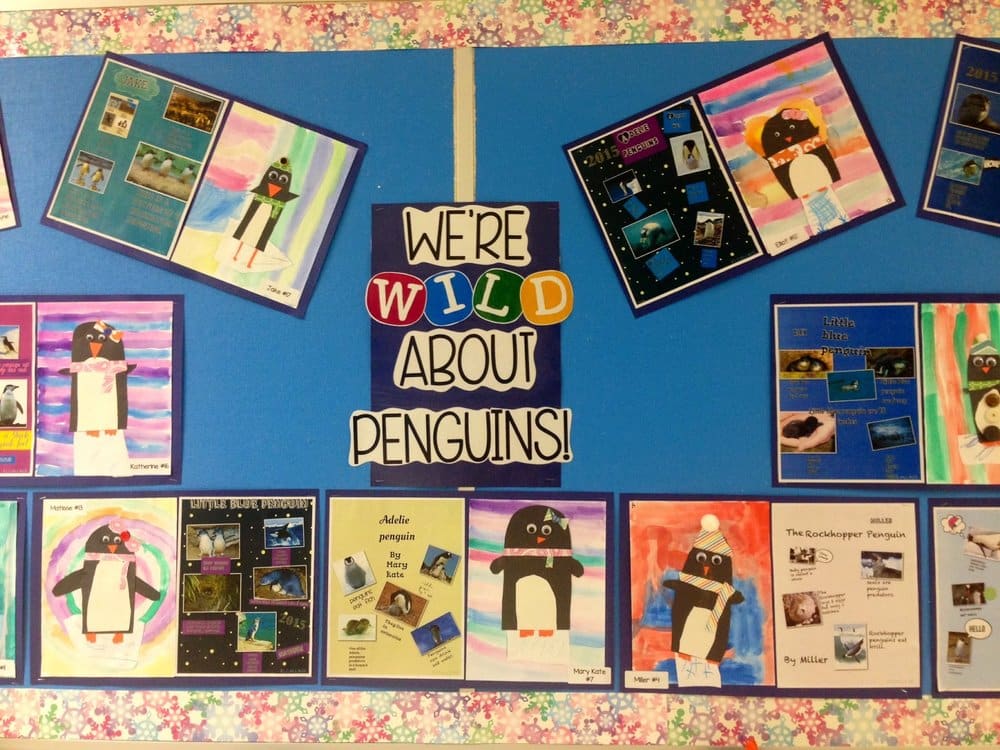
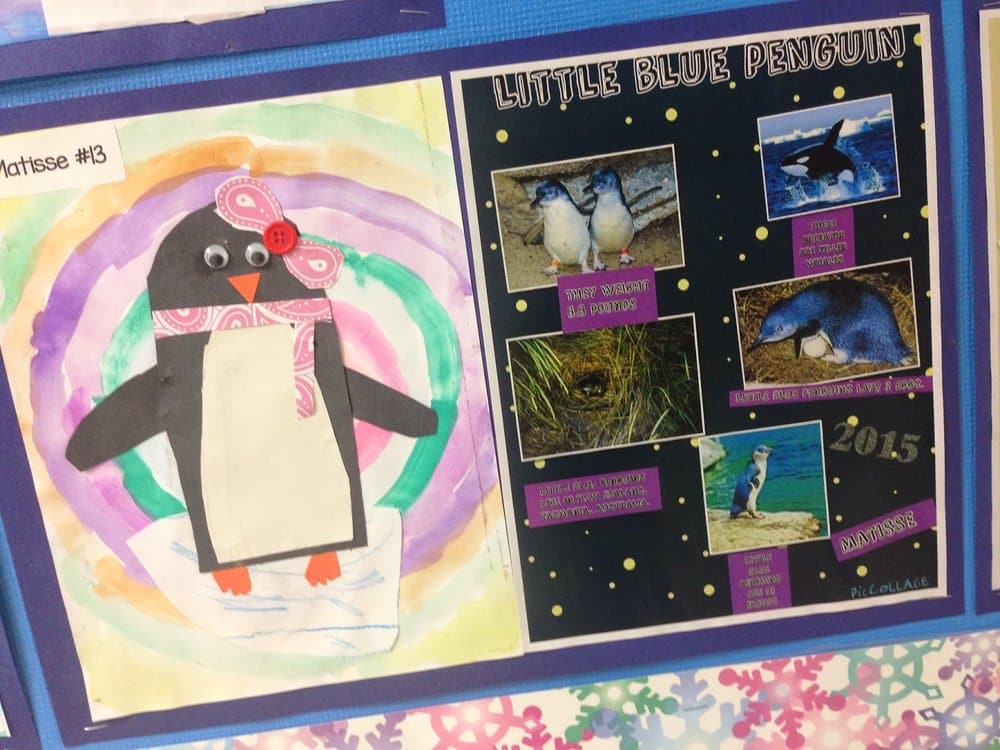
We also did some penguin art and used Pic Collage to create a penguin info sheet. Check out our set up!


I think that’s everything! If you’re interested in studying about the different penguin species, check out my All About Penguins unit in my TPT store. Pin the tutorial for later!


